Building search functionality in your app using Azure AI: Part 1

You've seen search functionality in nearly every application you use daily, from your favorite web engine to e-commerce sites and OTT platforms. Have you ever wondered how you can build one? In this article, I will provide a step-by-step walkthrough.
Before we dive into the demo, let's understand some terms to clarify the basics.
Search functionality basics
A search service acts as an intermediary between the external data stores, where all your raw data resides, and your client application, where you submit search queries and receive responses.
On the search service side, there are two primary functions: indexing and querying.
Indexing involves processing content by breaking it down (such as converting text into tokens) and organizing it in a manner that facilitates easy searching. This processed data is stored in structures known as inverted indexes, and in cases involving vectors, these are stored in vector indexes.
Querying begins once the index contains searchable content. At this stage, your application sends a search query to the search service, which then retrieves and returns the relevant data. The interaction occurs over a search index that you manage.
In scenarios where AI-powered search is utilized, as in this demo, semantic ranking plays a crucial role. This feature enhances the search queries by improving language comprehension and ensuring that the most pertinent results are given priority.
Building search functionality using Azure AI
Creating an index
The first step in creating a search solution is to build an index, which you can do using the Azure portal or the CLI.
Using Azure portal:
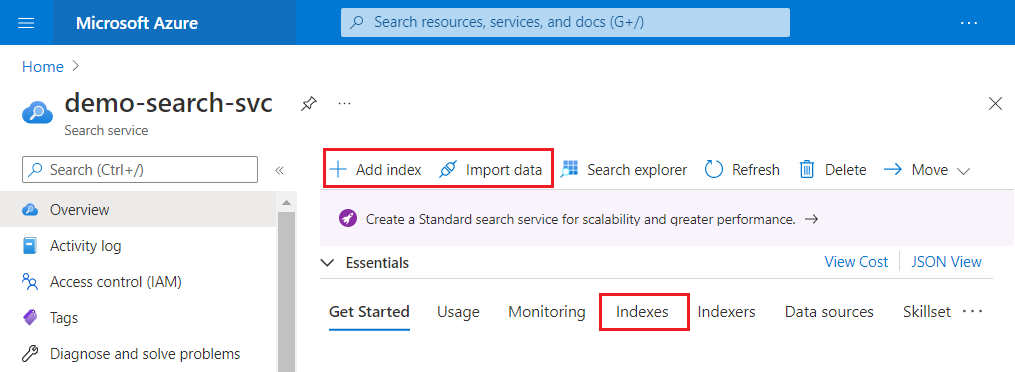
Sign in to the Azure portal.
Select the Import data wizard - The wizard provides a complete workflow that creates an indexer, a data source, and a finished index, and it also loads the data. If you need a simpler option, choose Add Index instead.
Using the Azure CLI:
You need to create a resource first using the following commands:
az loginCreate a resource group
az search service create --name my-search-demo --resource-group cognitive-search-demo-rg --sku free --partition-count 1 --replica-count 1Get a query key that provides read access to a search service.
az search query-key list --resource-group cognitive-search-demo-rg --service-name my-cog-search-demo-svcGet a search service admin API key, which provides write access to the search service.
az search admin-key show --resource-group cognitive-search-demo-rg --service-name my-cog-search-demo-svcNow that the service is created, to load the data you can use a script as mentioned in Microsoft docs.
Great job! You have completed the first task, next up is using the Azure AI APIs in your application to use the index you just created.
Testing the index
To check if your query meets your requirements, you can use the Create demo app option within the Azure portal to test the query.
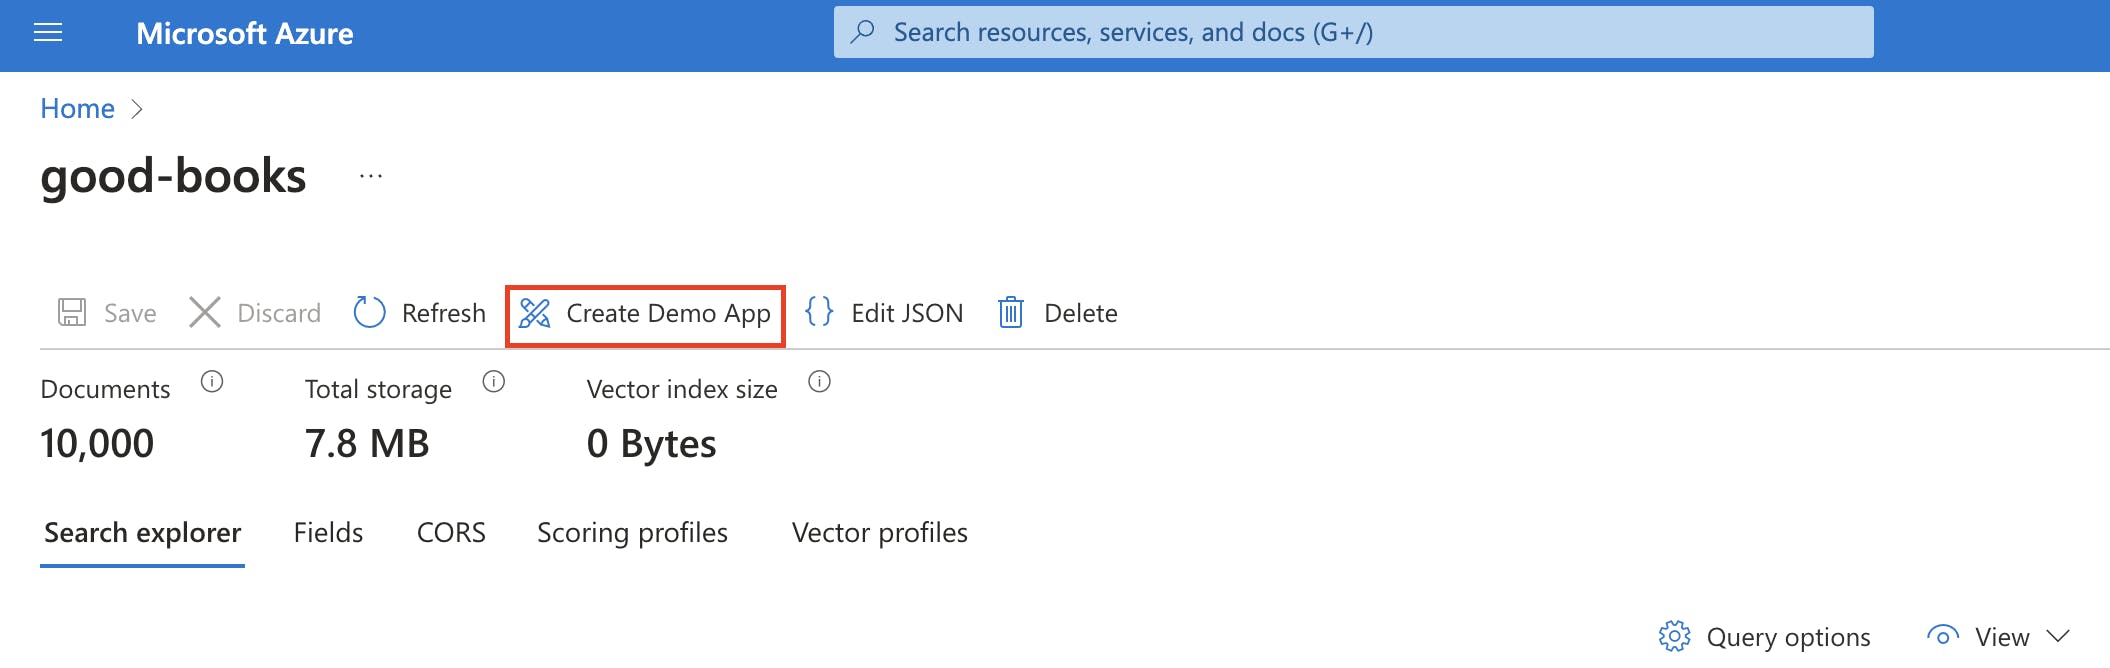
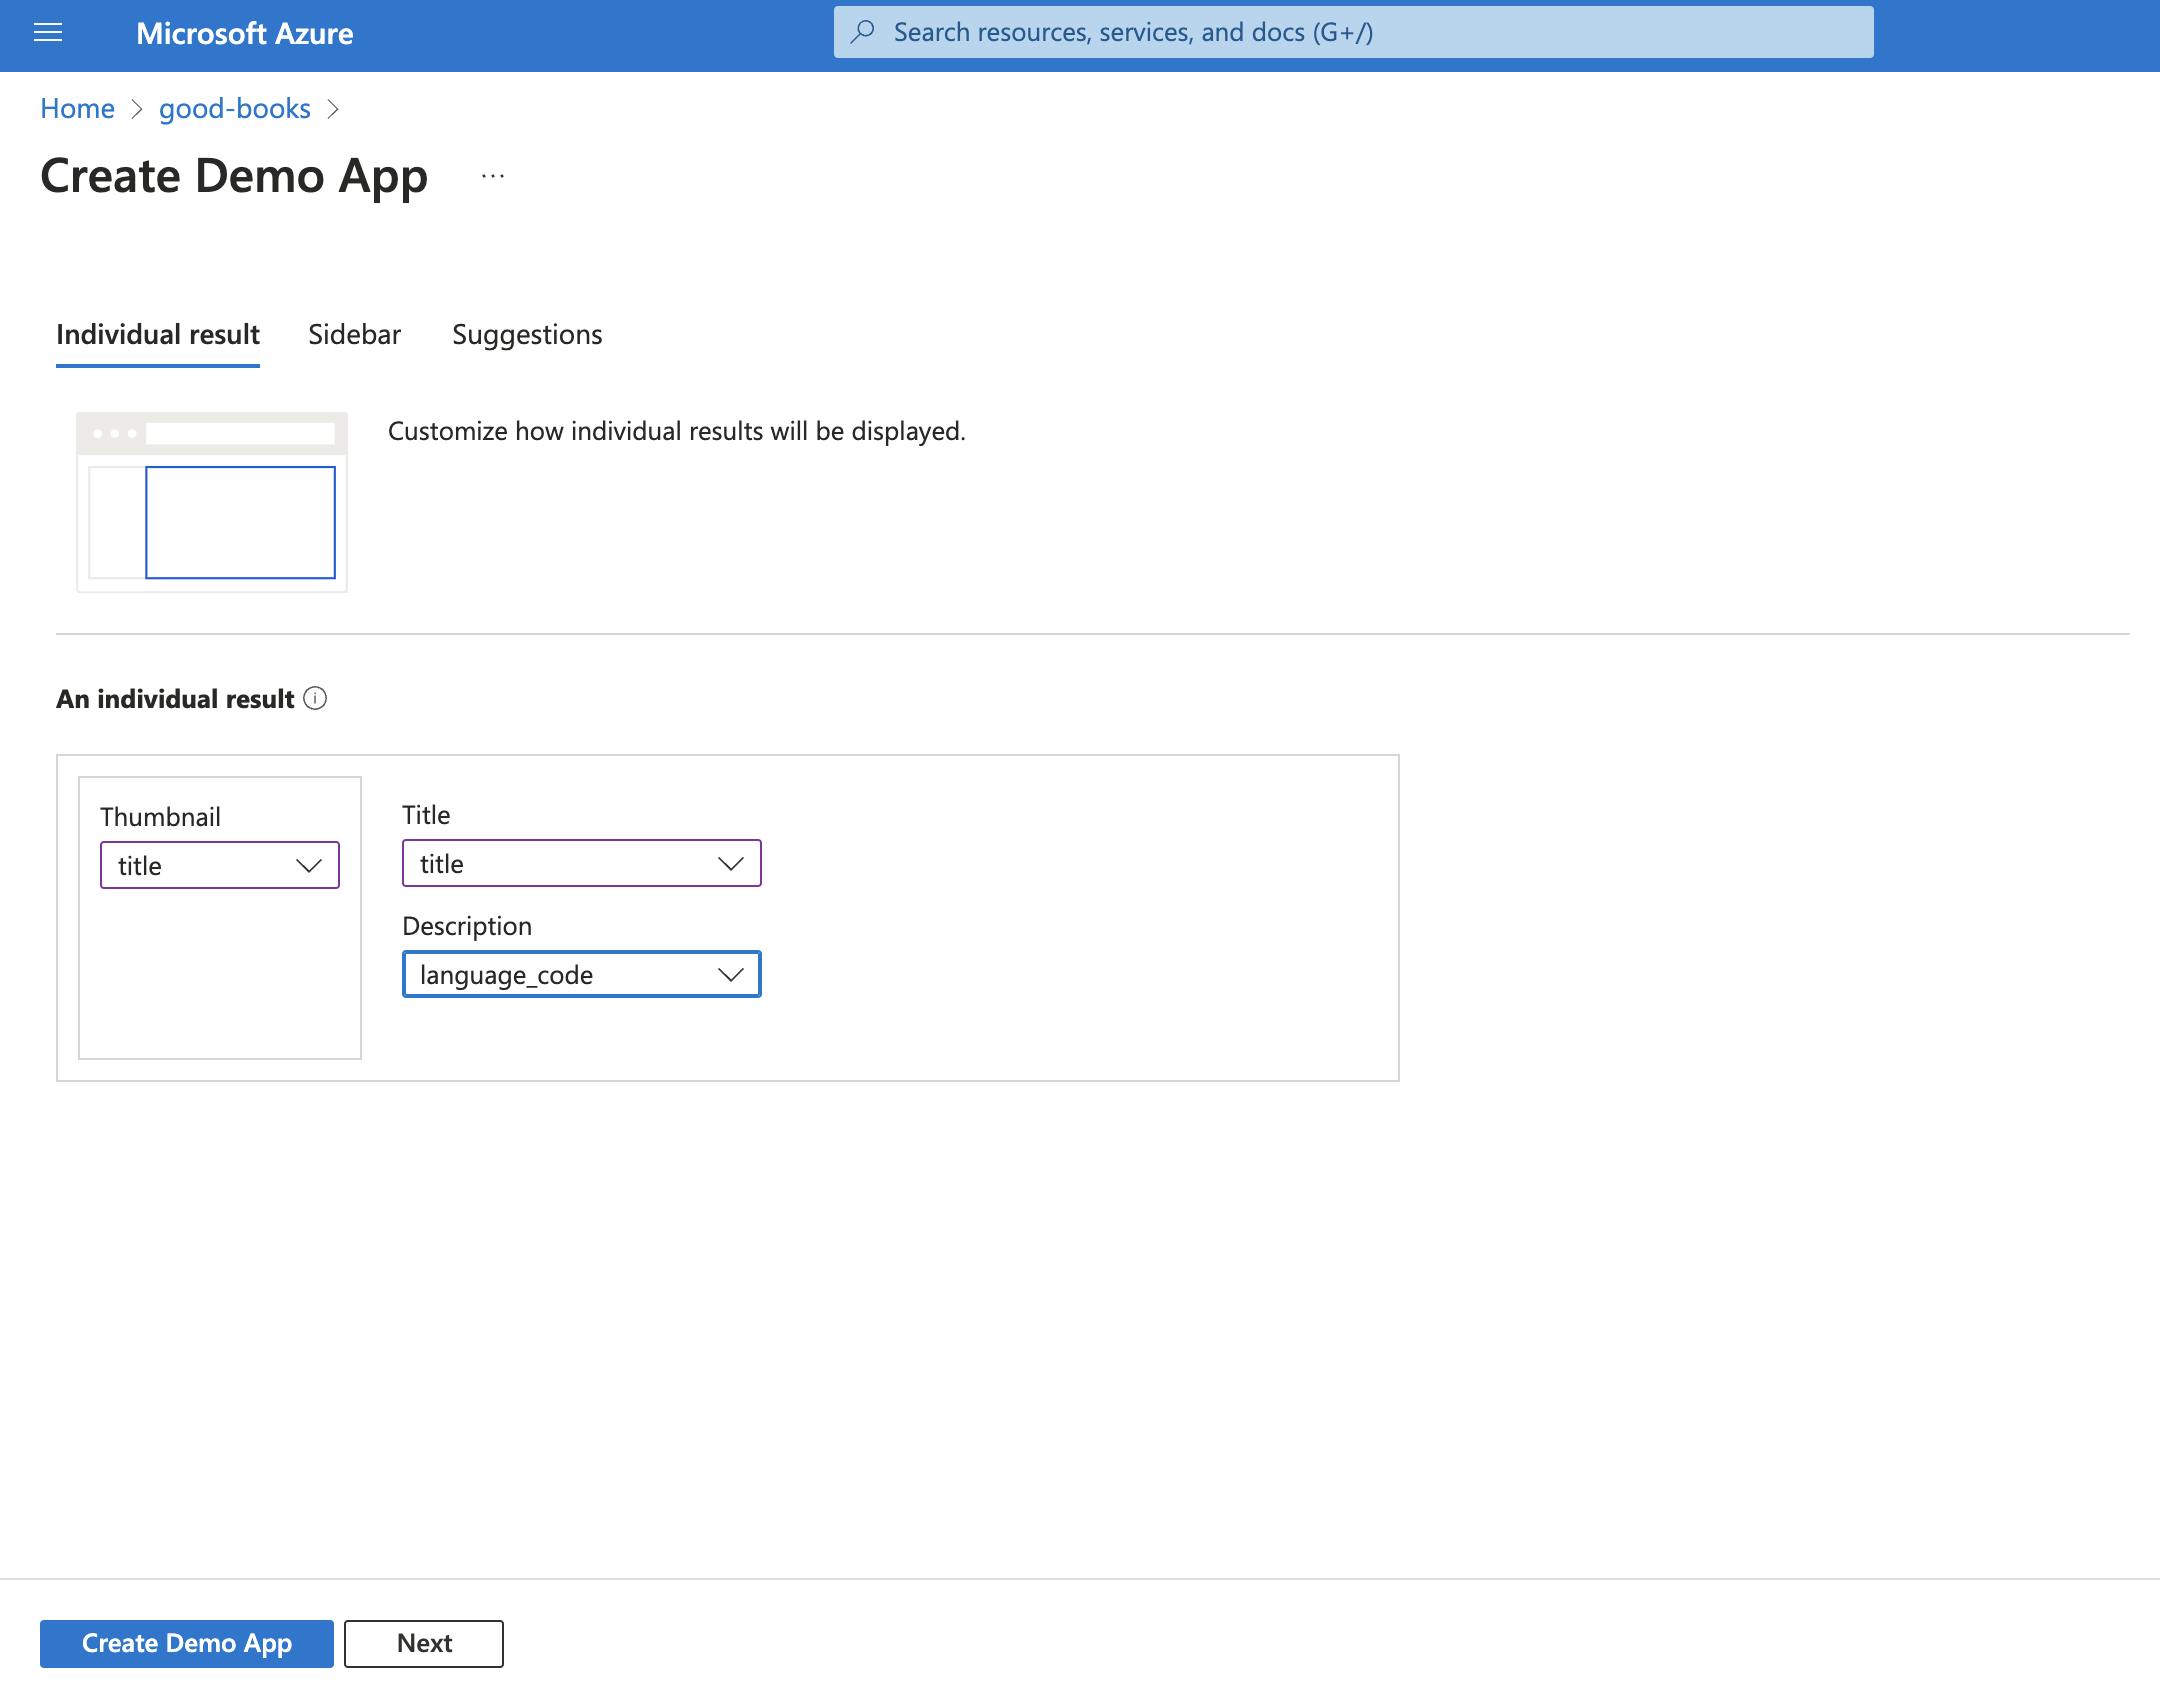
This is how the demo will look like:
And that's all about creating an index, next up we will see how we can use Azure AI APIs to integrate this index into our web app.